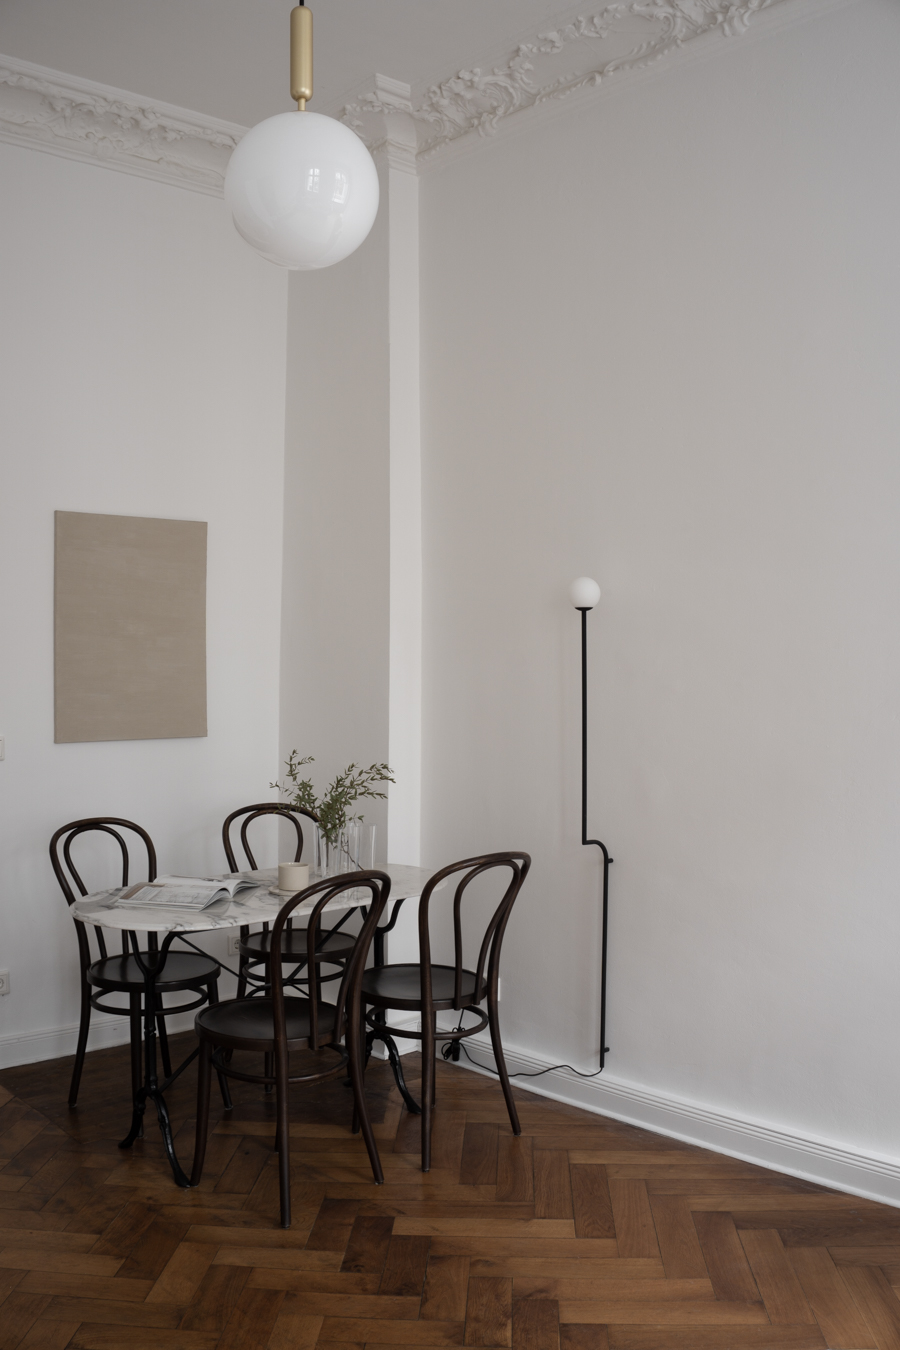
If you’re looking for a way to bring some warmth into your interior and would also enjoy a little diy project, let me suggest creating a simple painting using lime-based pigments by Kalklitir.
Now that we’ve lived in our flat for almost a year, I decided it was time to finally hang some art on the walls. But of course, I wanted to keep things really simple and warm, so I opted to create my own paintings using natural lime-based paint by Kalklitir. I’ve been seeing lots of interior applications using this type of kalk paint, and I love the beautiful depth and earthiness it adds to the room. But instead of cladding our walls in kalk, I opted to use this medium on canvas.
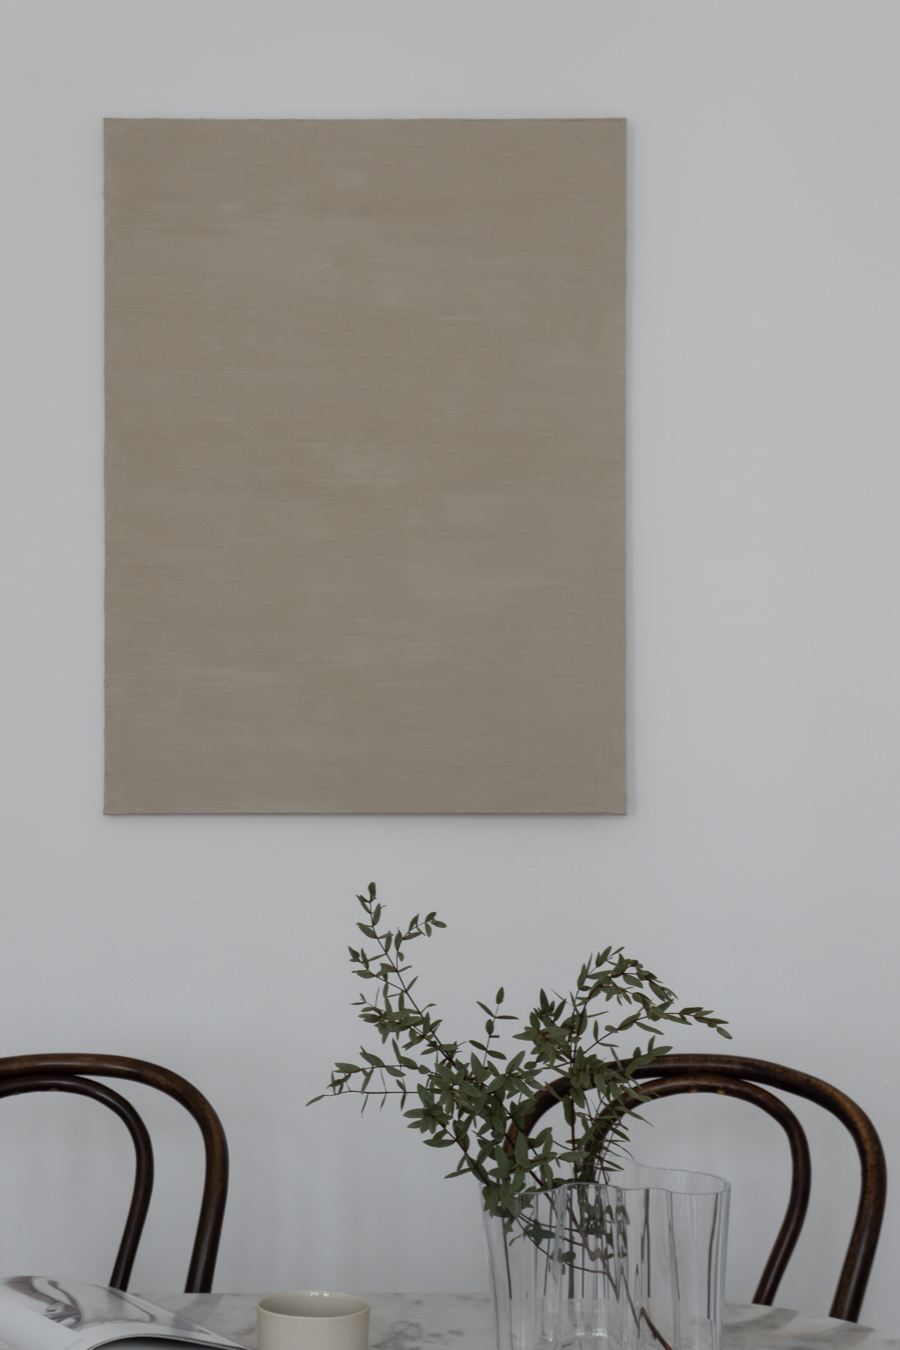
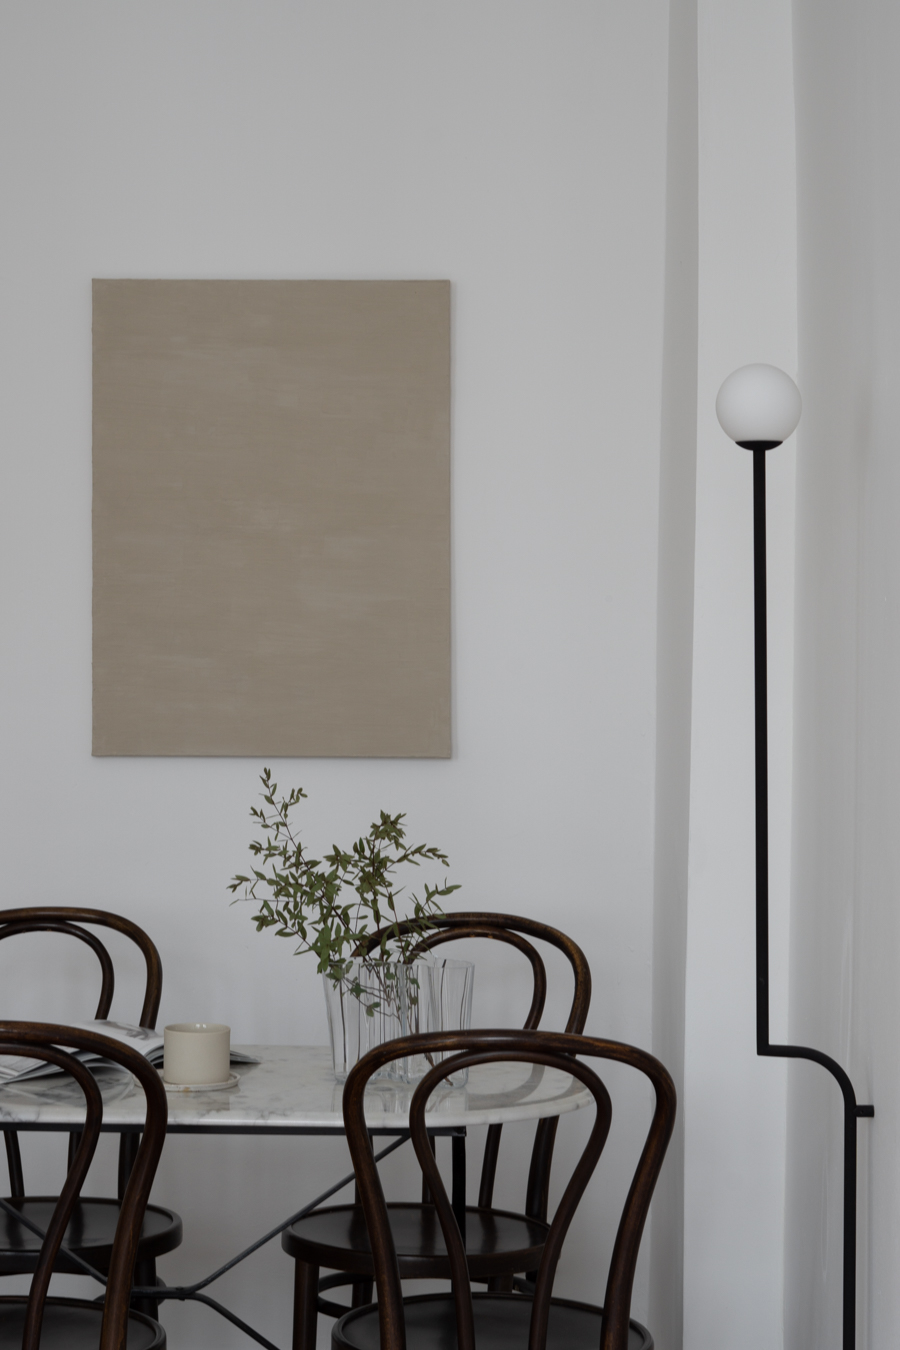
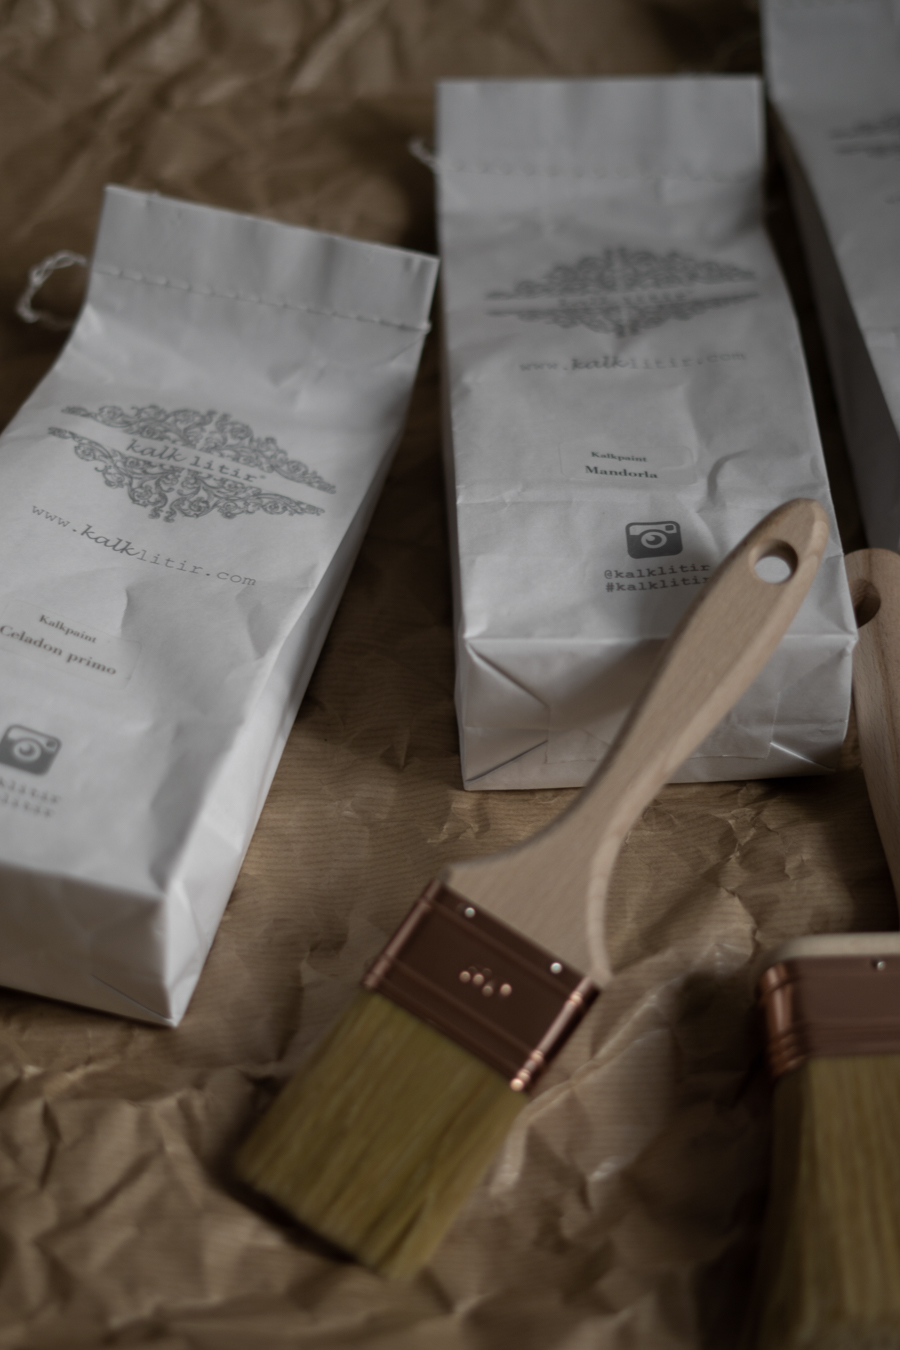
While I’ve always enjoyed painting, I’ll be the first to admit that I am no Picasso or fine artist. I simply enjoy the creative process (and hopefully the outcome) — creating a piece of artwork with Kalklitir is a very easy and relaxing project. I opted to make this painting using a neutral color called ‘Celadon Primo‘, but Kalklitir has a really wonderful assortment of pigments in their color range for you to explore.
Keep scrolling to see the painting process…
~
Discover Kalklitir Online and on Instagram
[AD as this post features press samples]
Color Shown Here: Celadon Primo
The Process Of Painting
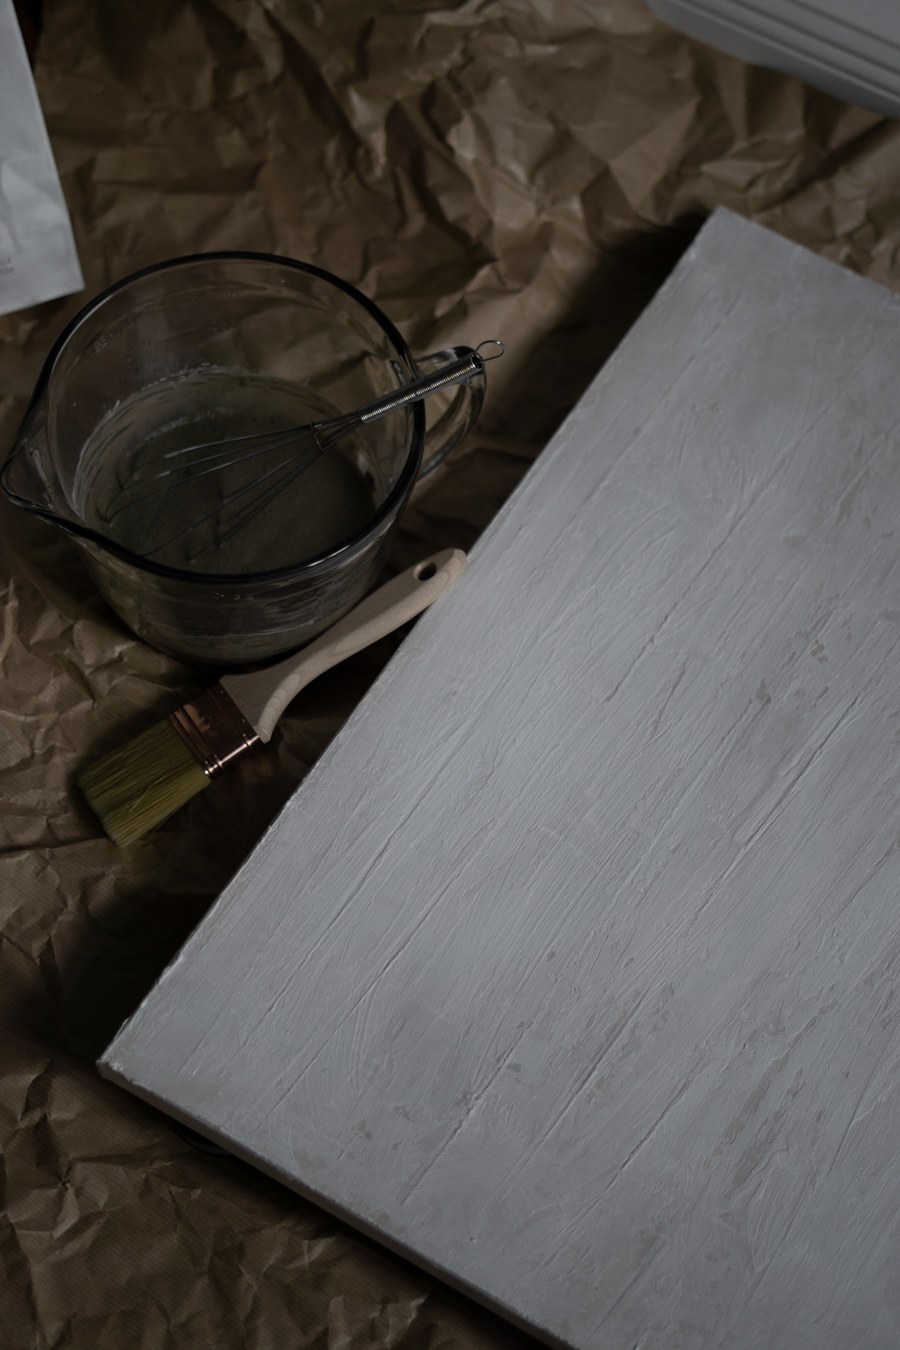
For this particular painting, I wanted to create something very subtle with a small amount of structure for irregularity and depth. Before working with the Kalklitir paint, I had already added my structural foundation to the canvas using a combination of molding paste and acrylic paint. This was done a few days before, so that there was plenty of time for it to dry.
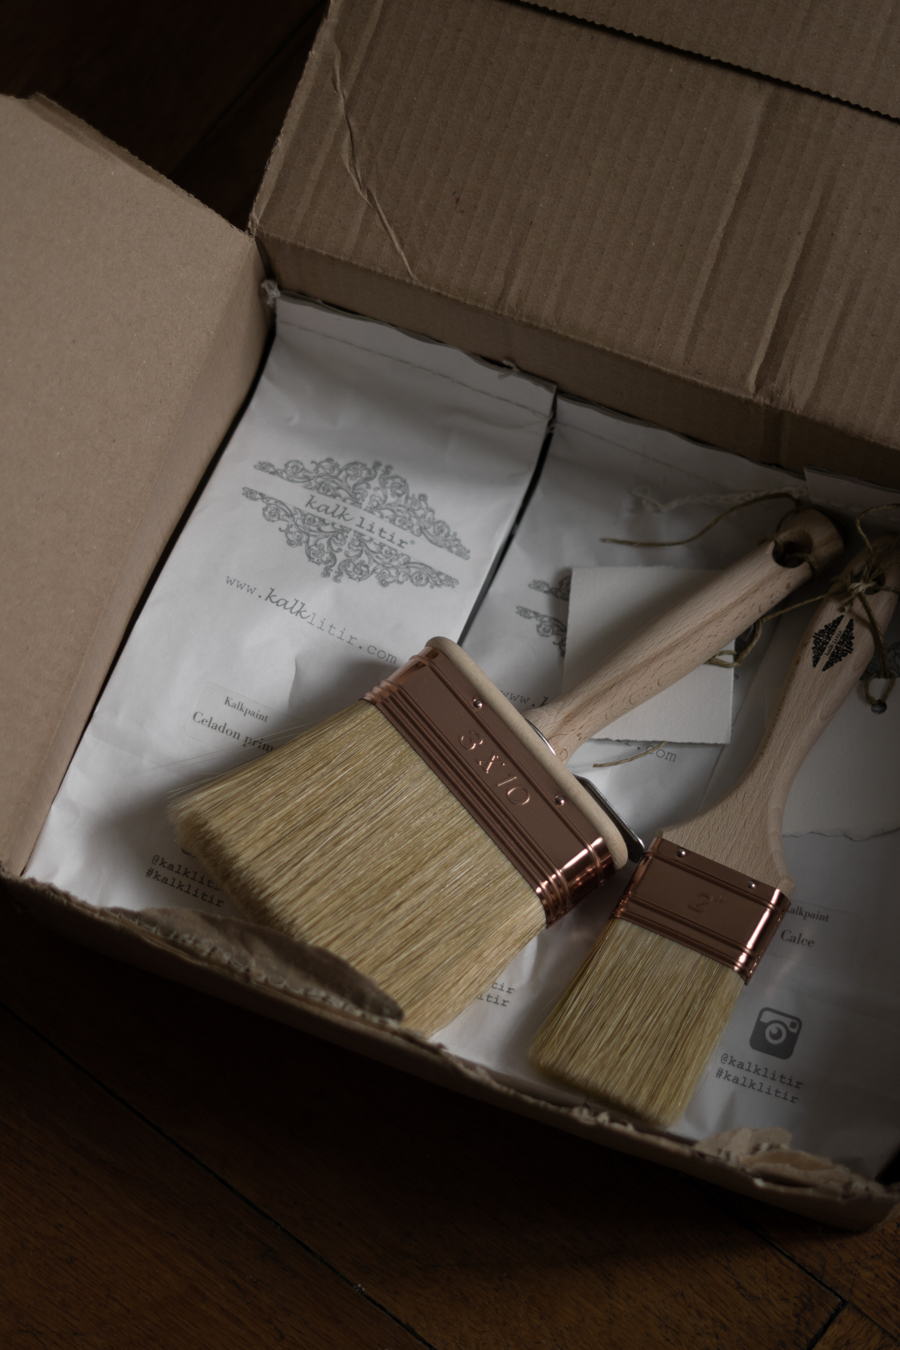
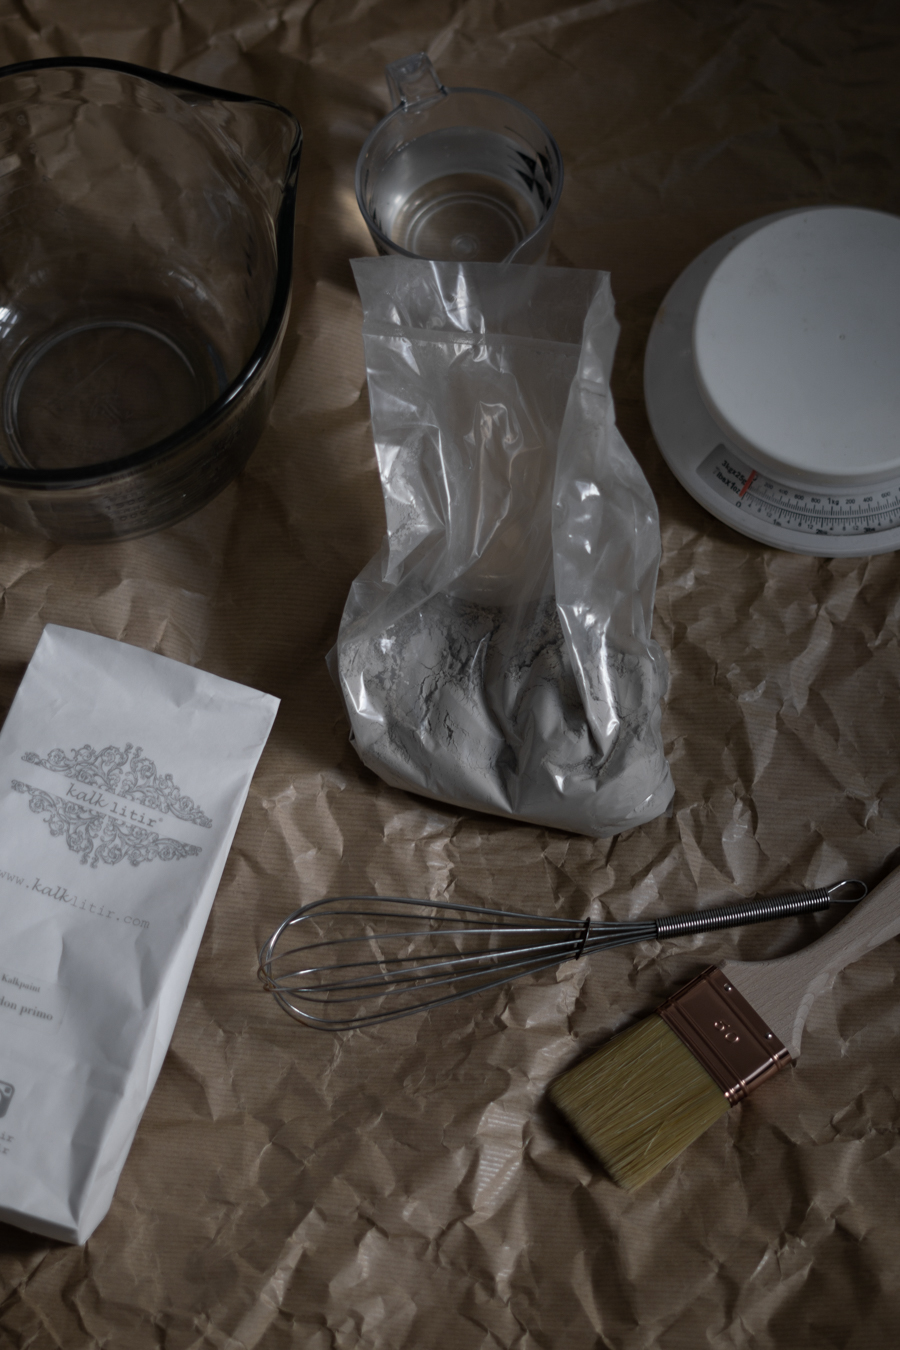
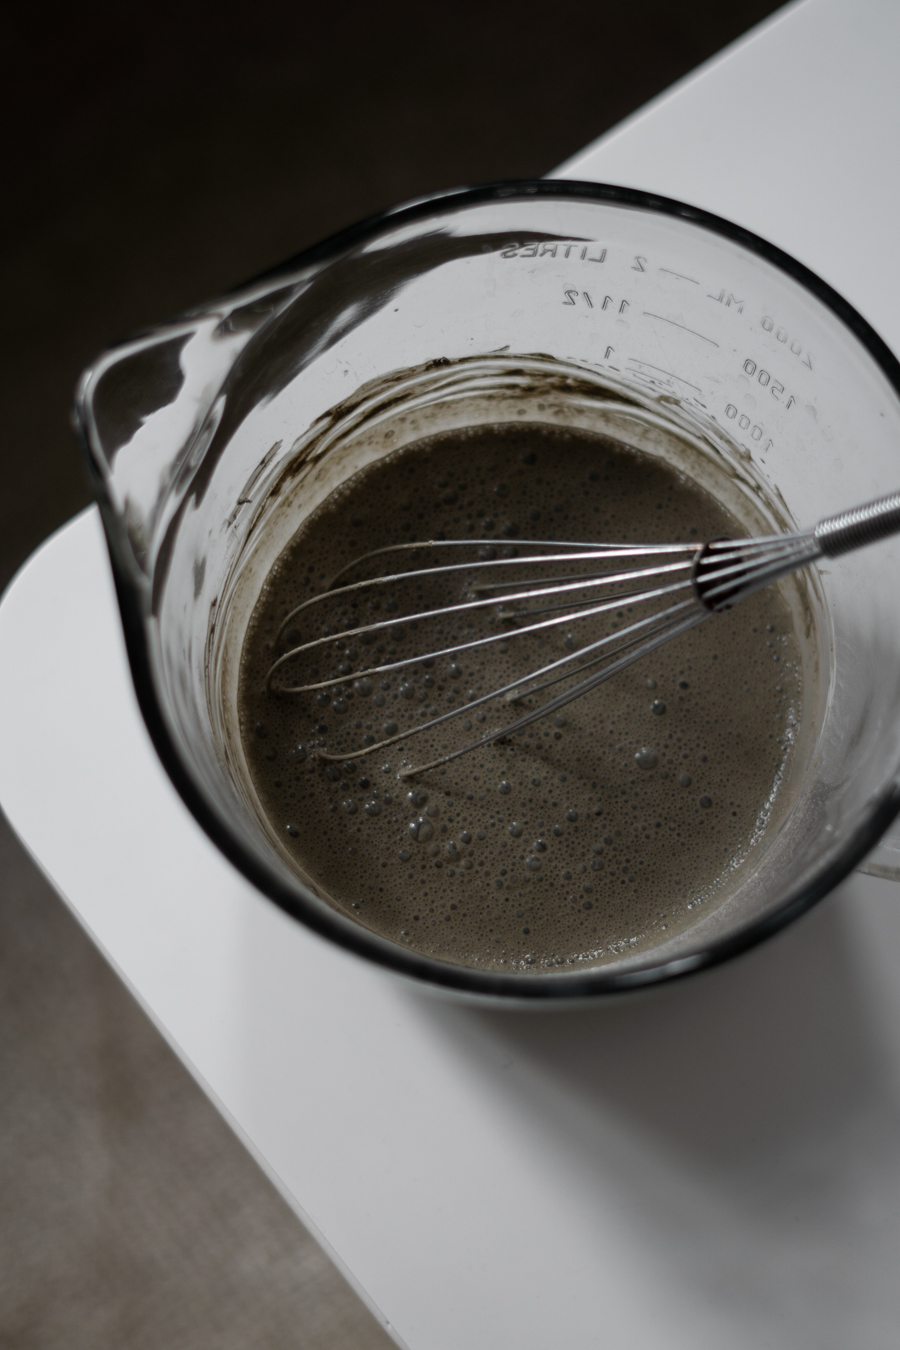
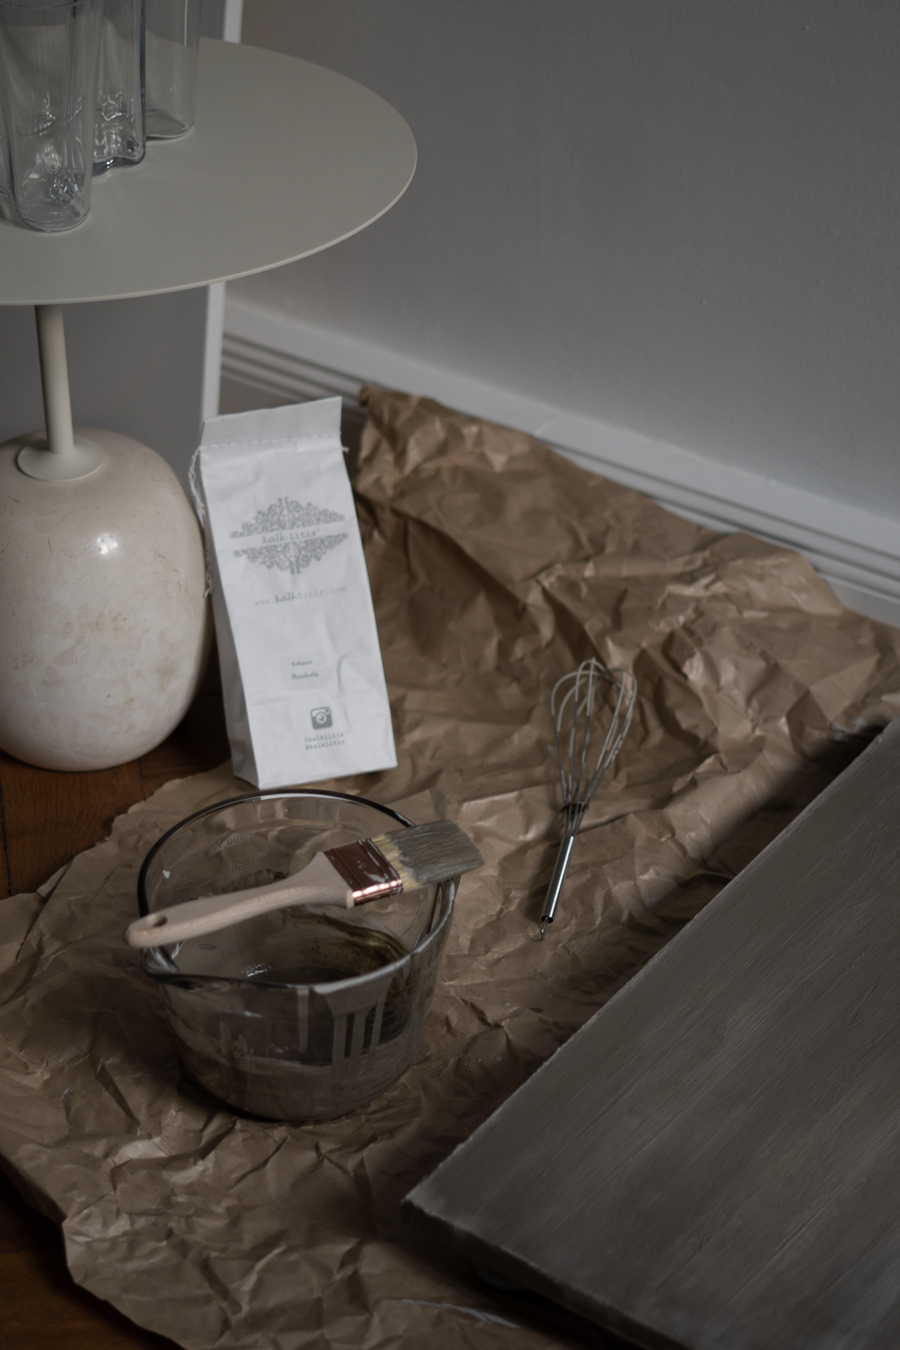
The next step was to mix the kalk paint, which comes in powder form and is easy enough to do using a hand-whisk. Since I didn’t use the full contents of the package, I simply weighed the powder and then added the appropriate amount of tap water based on the recipe provided on the label. For larger interior projects, I could imagine that it would be more convenient to mix the paint using an electric mixer since the recommended stir-time is ten minutes.
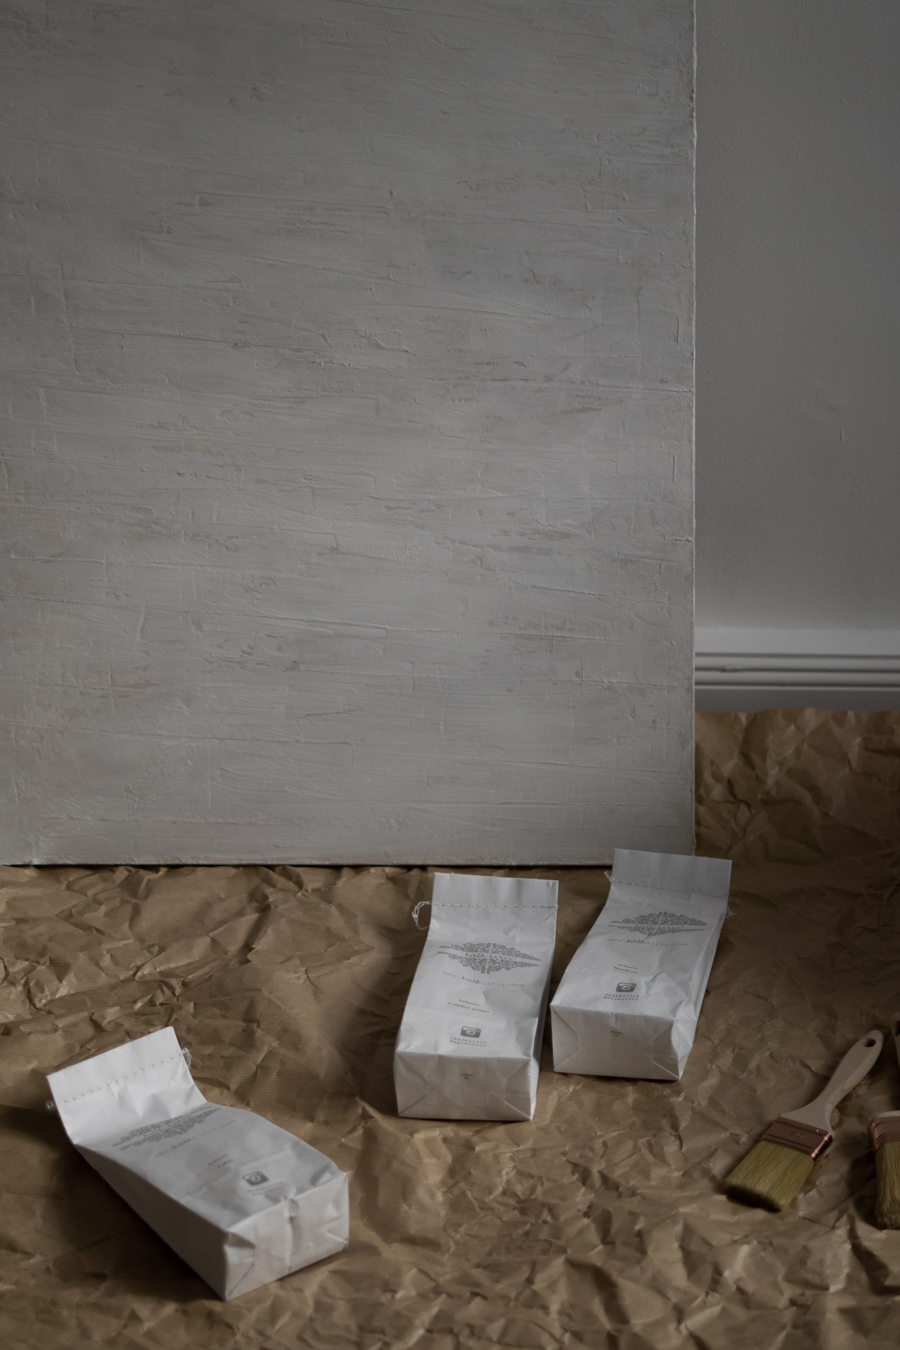
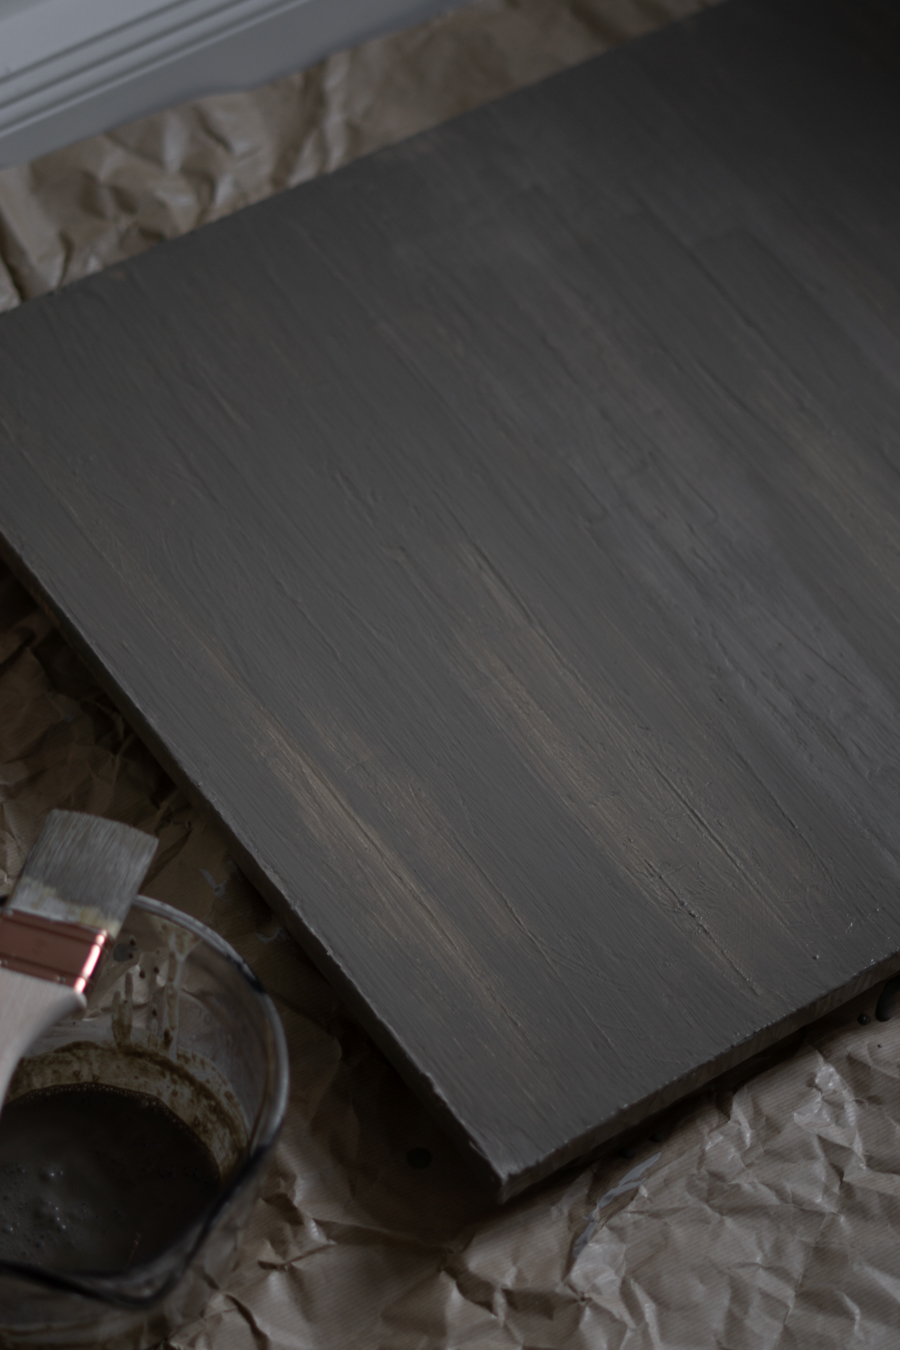
Once all was mixed, it was on to painting and this is super cathartic. I applied a total a three layers to the canvas while covering the edges as well, allowing the paint to dry between each layer. For this painting, I used the color “Celadon Primo” and applied the paint in horizontal layers that worked with the base structure on the canvas.
As Kalklitir says on their tips page, trusting the process is key. The color will dry many shades lighter in the end, and it’s impossible to make any judgements on the outcome until the paint is fully dry. But with this being the case, using Kalklitir on an art project turns the experience into a little journey.
The Finished Results
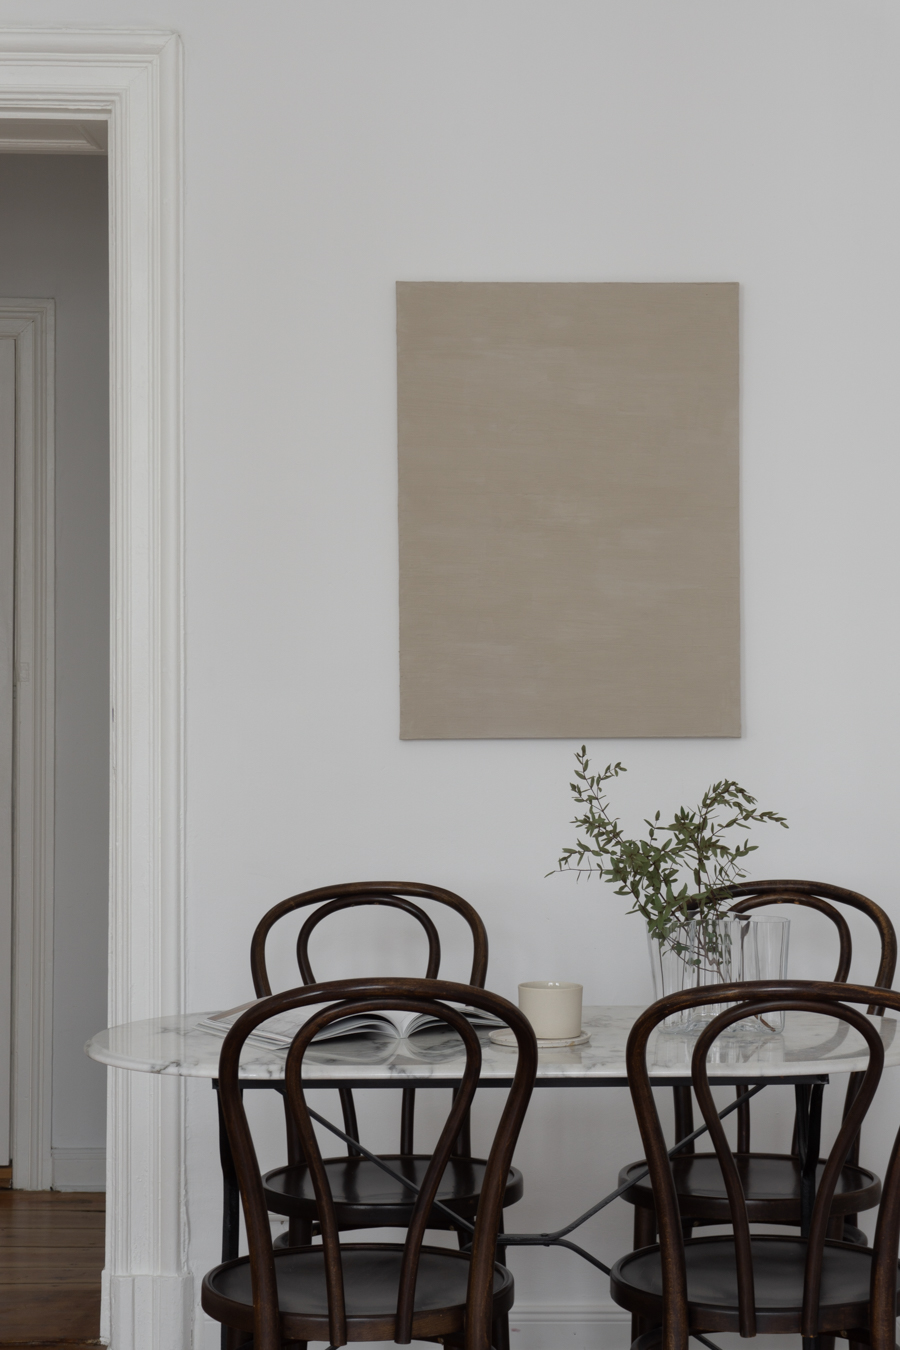
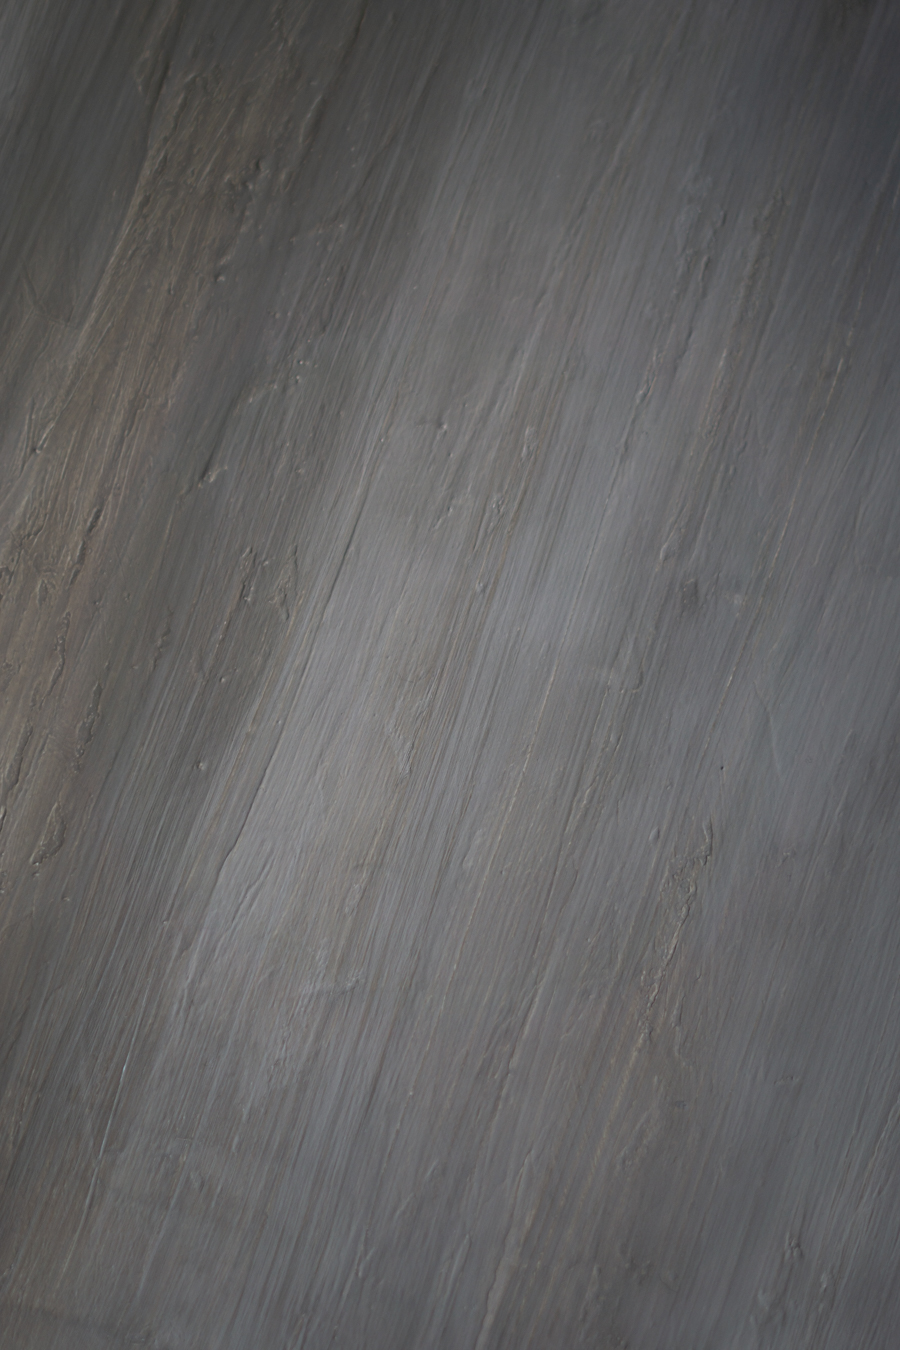
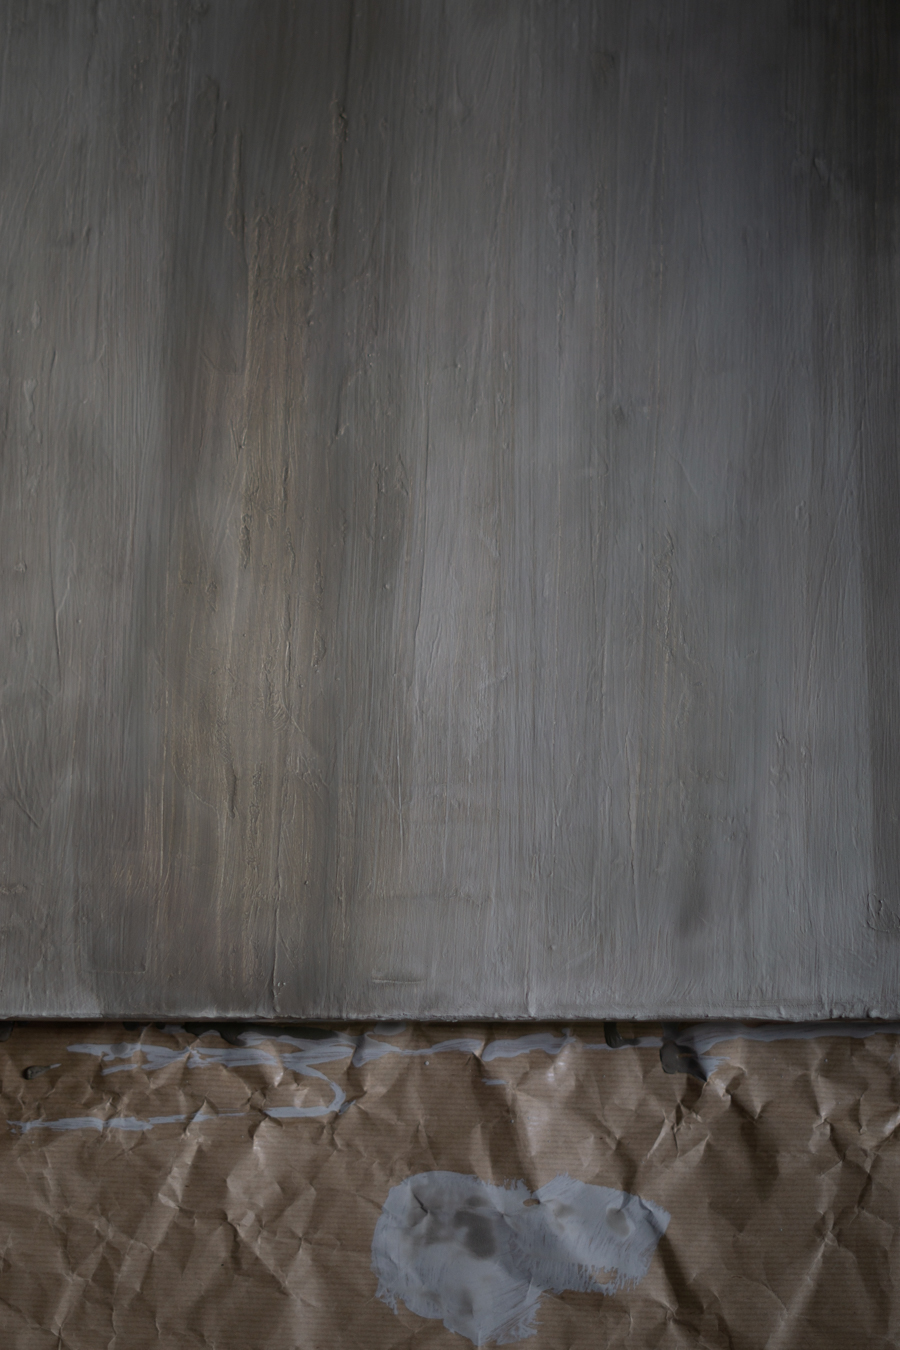
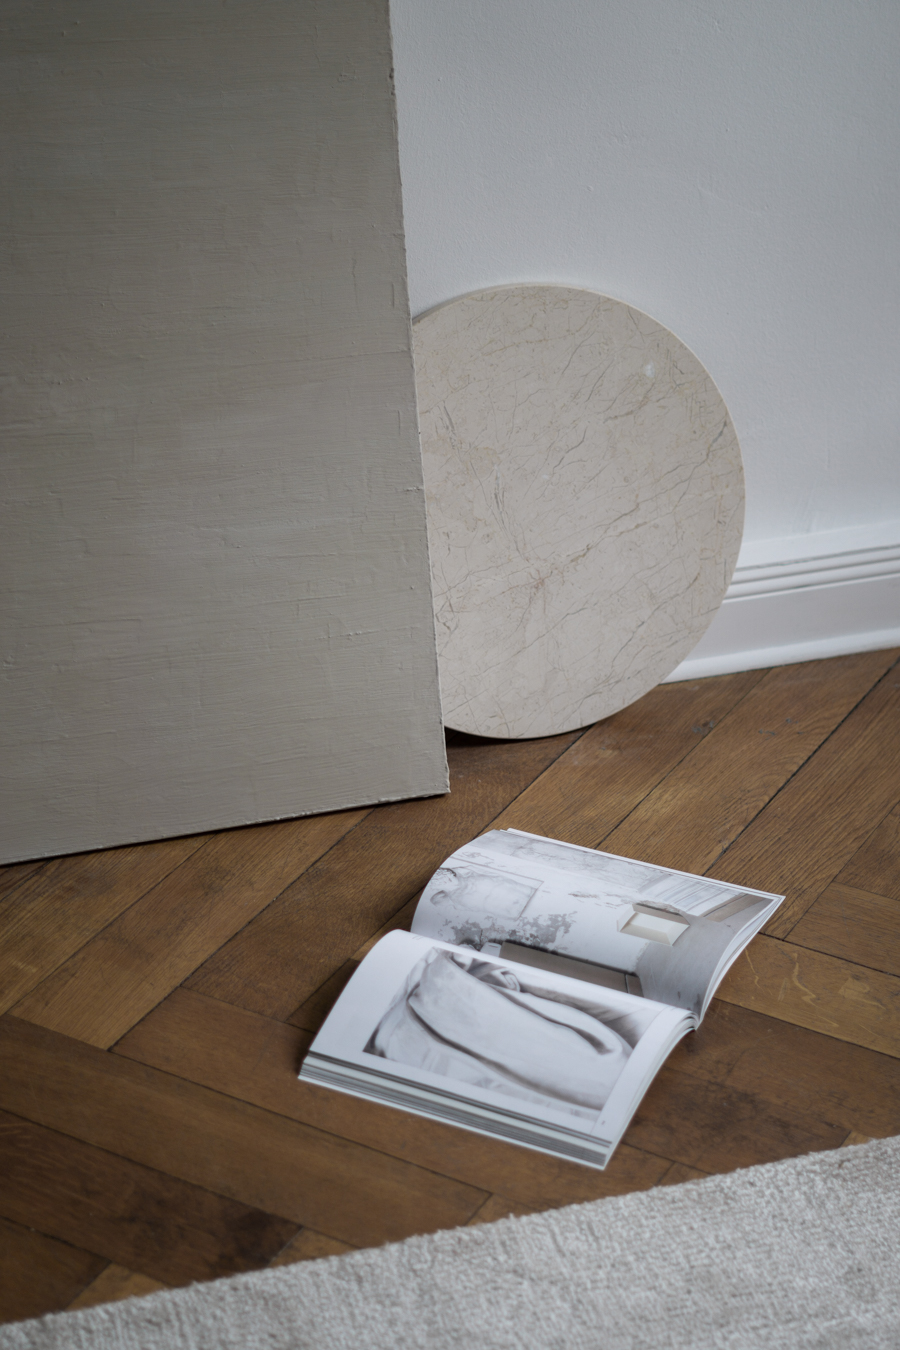
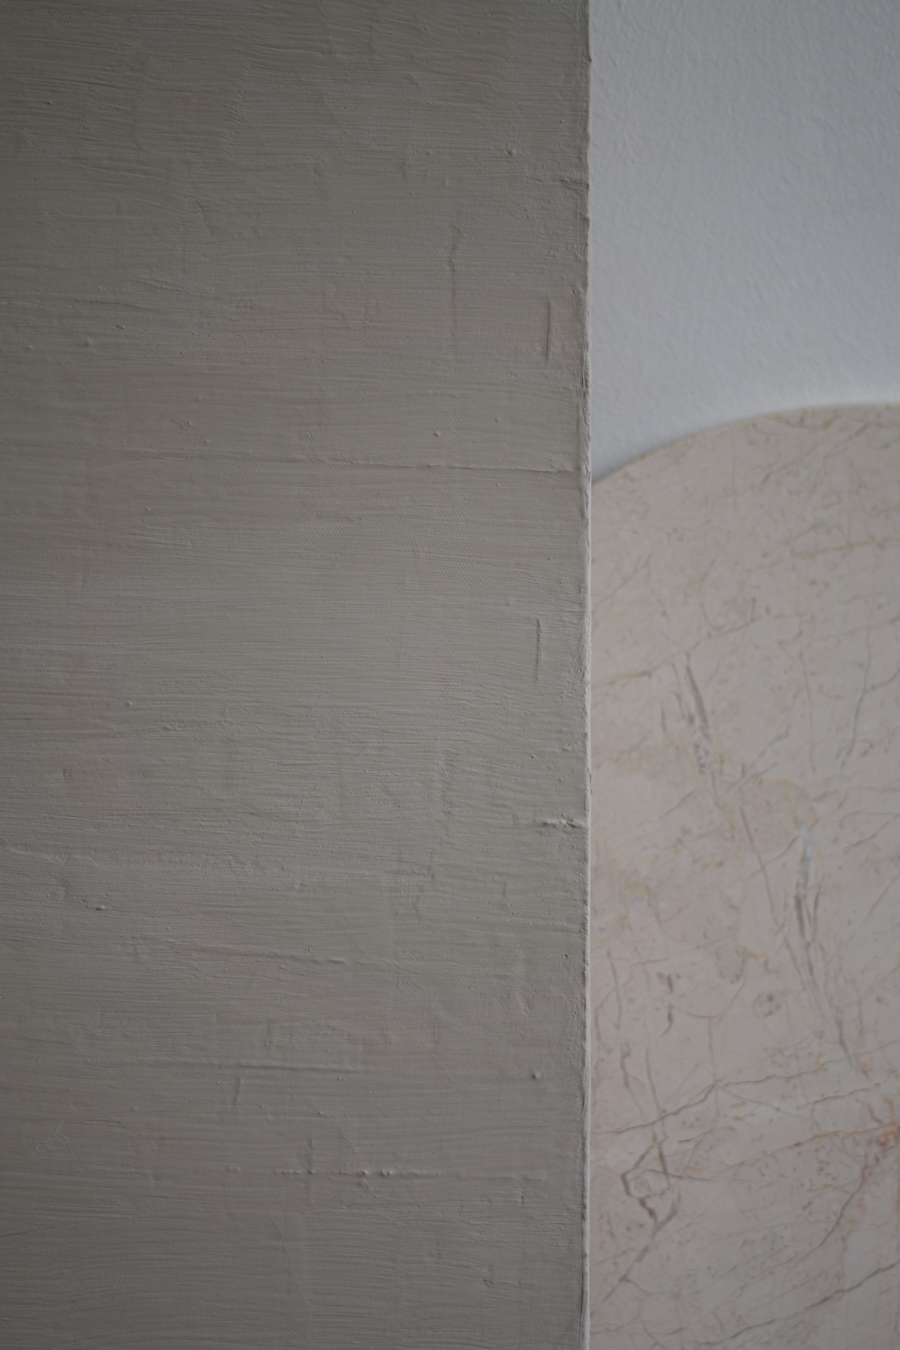
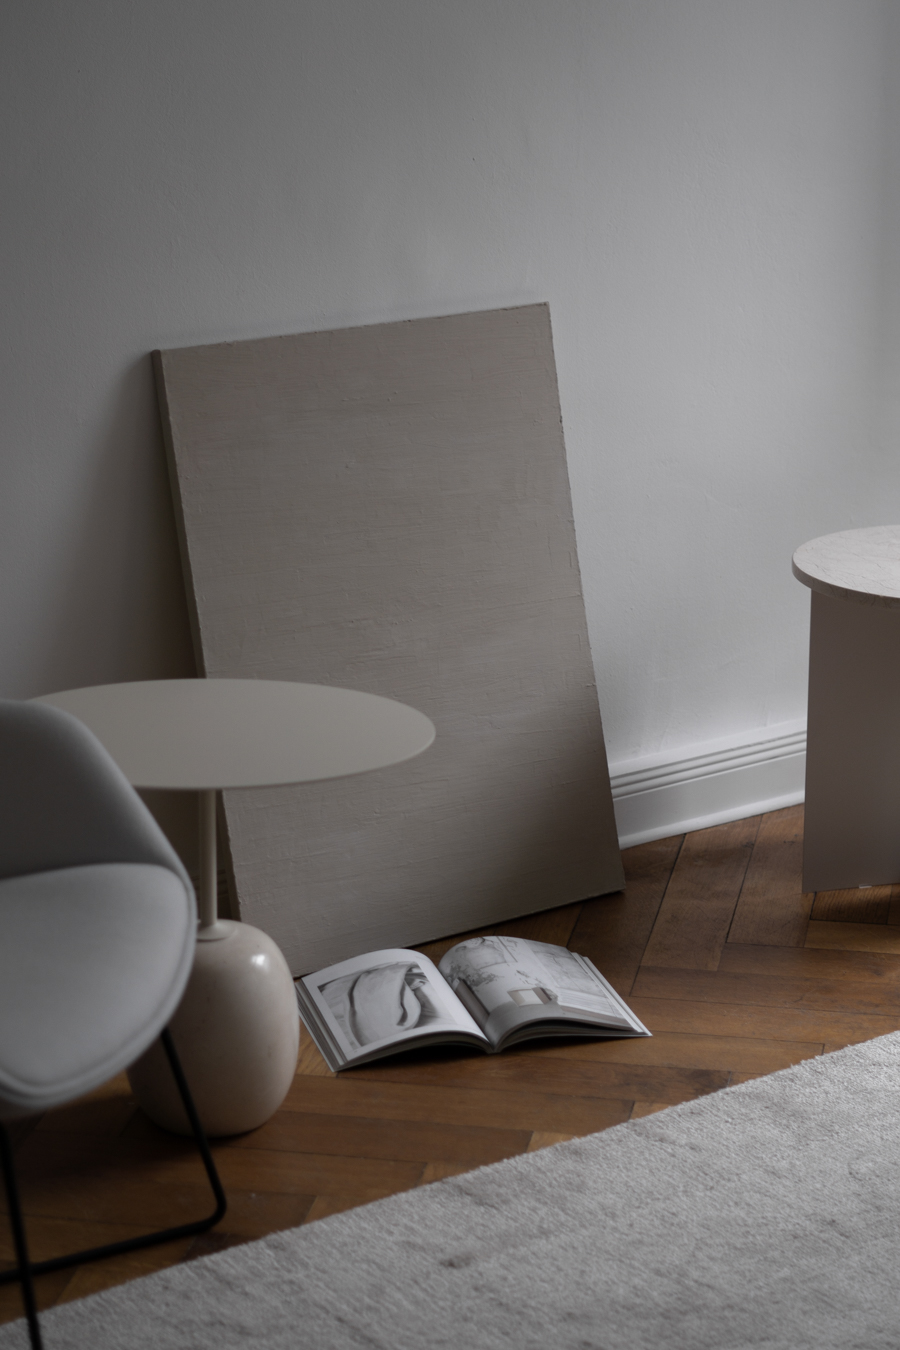
As mentioned above, working with lime-based pigments is all about trusting the process. This being my first time using Kalklitir paint, I was a bit unsure of how it would turn out in the end. But I think that the result is really nice, with a natural characteristic and matte appearance that makes for a lovely and understated piece of artwork. Being a natural material, you’ll find interesting irregularities in each brushstroke, and the paint’s mineral properties allow you to create a stunning range of depth without needing to be a skilled painter.
After the painting had fully dried and hardened, I used a razor to trim away the bits of built-up paint that had accumulated around the back exterior edges of the canvas. I then sanded these areas down so that I could be sure no pigment would transfer to the wall after it was hung. I have plans to create a few more kalk paintings in the weeks to come, so I’ll share the finished outcome of those as well later on.

This post was written in collaboration with Kalklitir
[AD]
~


